- The Science of the "Afterburn Effect" (EPOC)
- 1. The Push-Up to Mountain Climber Complex
- 2. Air Squat to Reverse Lunge
- 3. The Classic Burpee with a Tuck Jump
- 4. Inchworm to Shoulder Tap
- 5. Skater Jumps to Single Leg Hop
- 6. Plank Jack to Downward Dog
- 7. Bear Crawl to Push-Up
- 8. Side Lunge to High Knee Drive
- 9. Jumping Lunges
- 10. Bicycle Crunch to Hollow Hold
- How to Structure Your 15-Minute Workout
You stare at your screen. You look at the clock. It’s 5:30 PM. You’ve been on back-to-back Zoom calls all day, the kids are going to be demanding dinner in an hour, and your gym bag has been sitting in the corner untouched since Tuesday.
Finding time to work out as a busy professional or parent feels like trying to solve a puzzle with missing pieces. You know you need to move, but blocking out 60 minutes for a commute and a gym session just isn’t going to happen today.
Here is the truth: you don’t need an hour. You don’t even need a treadmill, a set of dumbbells, or a fancy garage gym. If you are looking for quick 15 minute home exercises to burn fat no equipment, you only need to understand how to trick your metabolism into working overtime.
The Science of the “Afterburn Effect” (EPOC)
The secret to burning fat in just 15 minutes lies in a concept called Excess Post-Exercise Oxygen Consumption, or EPOC. Fitness pros commonly call this the “afterburn effect.”
When you perform continuous, high-intensity bodyweight complexes—meaning you chain multiple movements together without resting—you force your body to consume massive amounts of oxygen. Returning your body to its resting state requires energy. According to the American Council on Exercise (ACE), intense interval training keeps your metabolic rate elevated for hours after you finish your workout. You literally burn calories while answering emails or watching TV later that night.
To trigger EPOC, you can’t just casually walk on a treadmill. You have to push your heart rate up and engage multiple large muscle groups at the same time. Doing bodyweight complexes (like blending a squat directly into a lunge) is the ultimate hack for this.
Here are the 10 best fat-burning exercises you can string together in your living room right now.

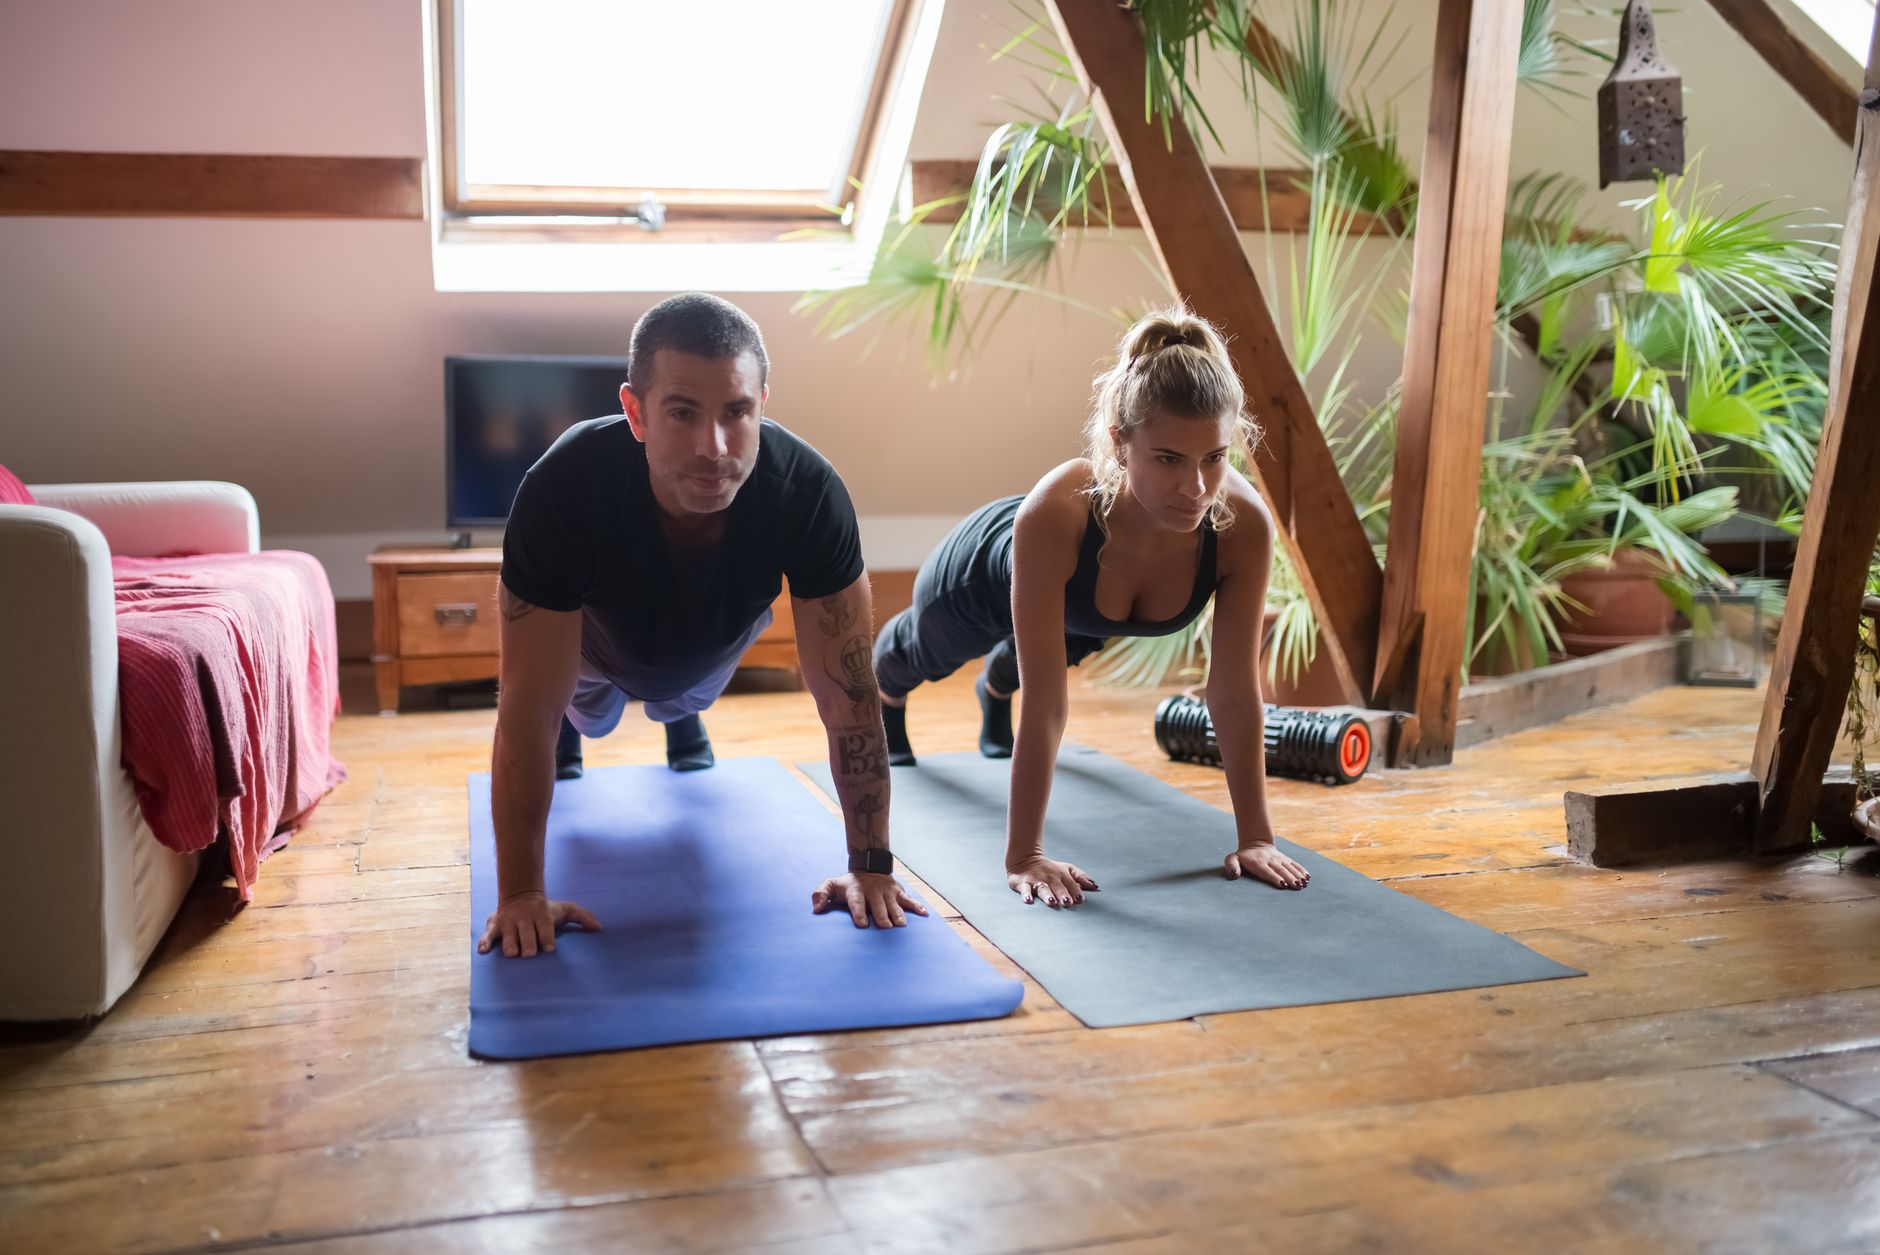
1. The Push-Up to Mountain Climber Complex
We are starting strong. This complex targets your chest, shoulders, and triceps while turning your core into a furnace. By adding the mountain climber, you spike your heart rate instantly.
How to do it:
- Start in a standard high plank position with your hands directly under your shoulders.
- Lower your chest to the floor for a strict push-up, then press back up.
- Immediately drive your right knee toward your chest, then your left knee, moving fast (one mountain climber per leg).
- Repeat the entire sequence fluidly.
- Pro tip: Doing these on hard living room floors can quickly tear up your palms or bruise your knees if you have to modify. Throw down a premium quality Manduka PRO Yoga Mat before doing floor complexes to focus on speed, not your joints.
2. Air Squat to Reverse Lunge
Leg muscles are the largest in your body. Working them requires a ton of blood flow and oxygen, making this combo a massive calorie burner.
How to do it:
- Stand with your feet shoulder-width apart.
- Push your hips back and bend your knees to drop into a deep air squat.
- As you stand up from the squat, immediately step your right foot back and lower your right knee to the floor for a reverse lunge.
- Push off your back foot to return to the starting position.
- Squat again, then reverse lunge with the left leg.
- Keep your chest up and core tight the entire time.
3. The Classic Burpee with a Tuck Jump
You probably hate burpees, but there is a reason every trainer programs them. A study published by Harvard Medical School points out that vigorous, full-body movements like these are incredibly effective for cardiovascular health and fat loss. Adding a tuck jump at the end multiplies the intensity.
How to do it:
- Drop your hands to the floor and jump your feet back into a plank.
- Lower your chest completely to the floor.
- Push up rapidly and jump your feet back toward your hands.
- Explode upward into a jump, bringing your knees up toward your chest (tuck jump).
- Land softly and immediately drop back into the next rep.
- Pro tip: You will sweat heavily doing these. Keep a YETI Rambler 36 oz Stainless Steel Bottle nearby to take a quick sip during your rest periods so you don’t waste time walking to the kitchen.
4. Inchworm to Shoulder Tap
This is an amazing movement for targeting your shoulders, stretching your hamstrings, and building core stability. It serves as an active recovery exercise that still keeps your heart rate in the fat-burning zone.
How to do it:
- Stand tall, keep your legs as straight as possible, and reach down to touch your toes.
- Walk your hands out in front of you until you reach a high plank position.
- Tap your left shoulder with your right hand, then tap your right shoulder with your left hand.
- Keep your hips perfectly still while tapping.
- Walk your hands back to your feet and stand up and squeeze your glutes.
5. Skater Jumps to Single Leg Hop
This lateral movement works the muscles on the sides of your legs and glutes that usually get ignored when we only move forward and backward.
How to do it:
- Start on your right leg. Leap sideways to the left, landing softly on your left foot while sweeping your right leg behind you.
- Instead of immediately jumping back, do a quick vertical hop on that left leg.
- Now leap laterally back to the right leg, stick the landing, and do a vertical hop on the right leg.
- Use your arms to help generate momentum.
- Stay low and athletic throughout the movement.
6. Plank Jack to Downward Dog
This complex challenges your core stabilization while giving your shoulders a dynamic range of motion. It forces you to control your breathing while under tension.
How to do it:
- Start in a high plank position.
- Jump both feet out wide, just like a jumping jack, and jump them back together.
- Immediately push your hips up and back into a downward dog position, keeping your arms straight.
- Flow back down into the high plank position.
- Repeat the jack and the push-back rhythmically.
- Pro tip: Because your face is hovering over the floor, sweat will be pouring into your eyes. Keep a Nike Vapor Quick-Drying Towel draped over a chair nearby to quickly wipe your face and drop your body temperature between rounds.
7. Bear Crawl to Push-Up
The bear crawl is a primal movement that taxes the entire body. Combining it with a push-up creates a brutal but effective upper-body finisher.
How to do it:
- Start on all fours. Lift your knees an inch off the ground so you are supported by your hands and toes.
- Crawl forward for four steps, keeping your back totally flat (like a tabletop).
- Stop, jump your feet back into a plank, and perform one push-up.
- Jump your feet back into the bear crawl position.
- Crawl backward for four steps, and perform another push-up.
8. Side Lunge to High Knee Drive
This targets the inner and outer thighs while challenging your balance. The knee drive engages your lower abs and spikes your heart rate.
How to do it:
- Stand tall, then take a big step to the right with your right foot.
- Push your hips back and bend your right knee, keeping your left leg totally straight.
- Explode off your right foot to return to the center, but instead of putting your foot down, drive your right knee straight up toward your chest.
- Balance for a split second, then step immediately back into the side lunge.
- Do 30 seconds on one side, then switch to the other.
9. Jumping Lunges
Nothing sets the legs on fire quite like plyometric lunges. They build explosive power and demand incredible energy.
How to do it:
- Start in a lunge position with your right leg forward and your left knee hovering just above the ground.
- Explode straight up into the air.
- Switch your legs mid-air.
- Land softly with your left leg forward and right leg back, sinking immediately into the next lunge.
- Use your arms to propel yourself upward.
- If your knees hurt, switch to fast-paced reverse lunges instead.
10. Bicycle Crunch to Hollow Hold
We have to finish with a dedicated core complex. This burns out the abdominals by mixing rotation with static tension.
How to do it:
- Lie on your back, hands lightly behind your ears, legs lifted in a tabletop position.
- Perform 4 slow, controlled bicycle crunches (bringing your right elbow to your left knee, then left elbow to right knee).
- After the 4th crunch, extend both legs straight out and reach your arms overhead.
- Press your lower back hard into the floor and hold this “hollow” position for 5 seconds.
- Return to the bicycle crunches and repeat.
How to Structure Your 15-Minute Workout
Knowing the exercises is only half the battle. To actually get the fat-burning benefits, you need to structure them correctly.
I highly recommend using a Tabata or an EMOM (Every Minute on the Minute) format to keep yourself accountable. Since you are tight on time, a simple circuit works best:
- Pick 5 exercises from the list above.
- Work for 45 seconds as hard as you can with good form.
- Rest for 15 seconds while you transition to the next movement.
- Complete 3 total rounds of your 5 chosen exercises.
This takes exactly 15 minutes. It requires zero setup, zero travel time, and gives you a better metabolic return than an hour of mindless elliptical cardio.
Being busy is a reality, but it doesn’t have to be an excuse. You don’t need endless free time or a basement full of expensive gear to get in the best shape of your life. By leveraging the science of EPOC and combining multi-joint movements into continuous complexes, you can effectively burn fat in the comfort of your own living room. Give this 15-minute format a try before your next morning meeting or right after you put the kids to bed. Your metabolism will thank you.
Ready to take your fat-loss routine even further? Once you’ve mastered these 15-minute quick hits, you might want to explore other highly effective movements. Check out our detailed guide on the top 10 exercises that burn the most fat to keep building your ultimate home workout arsenal.
The information provided in this article is for educational and informational purposes only. It is not intended as medical advice, nor is it intended to cure, treat, or heal any disease or condition. Always consult with a licensed physician or certified fitness professional before starting any new exercise program, especially if you have pre-existing medical conditions or injuries.
Leave a Reply